Make a Paper Bag Cape with Miss Rachel | |
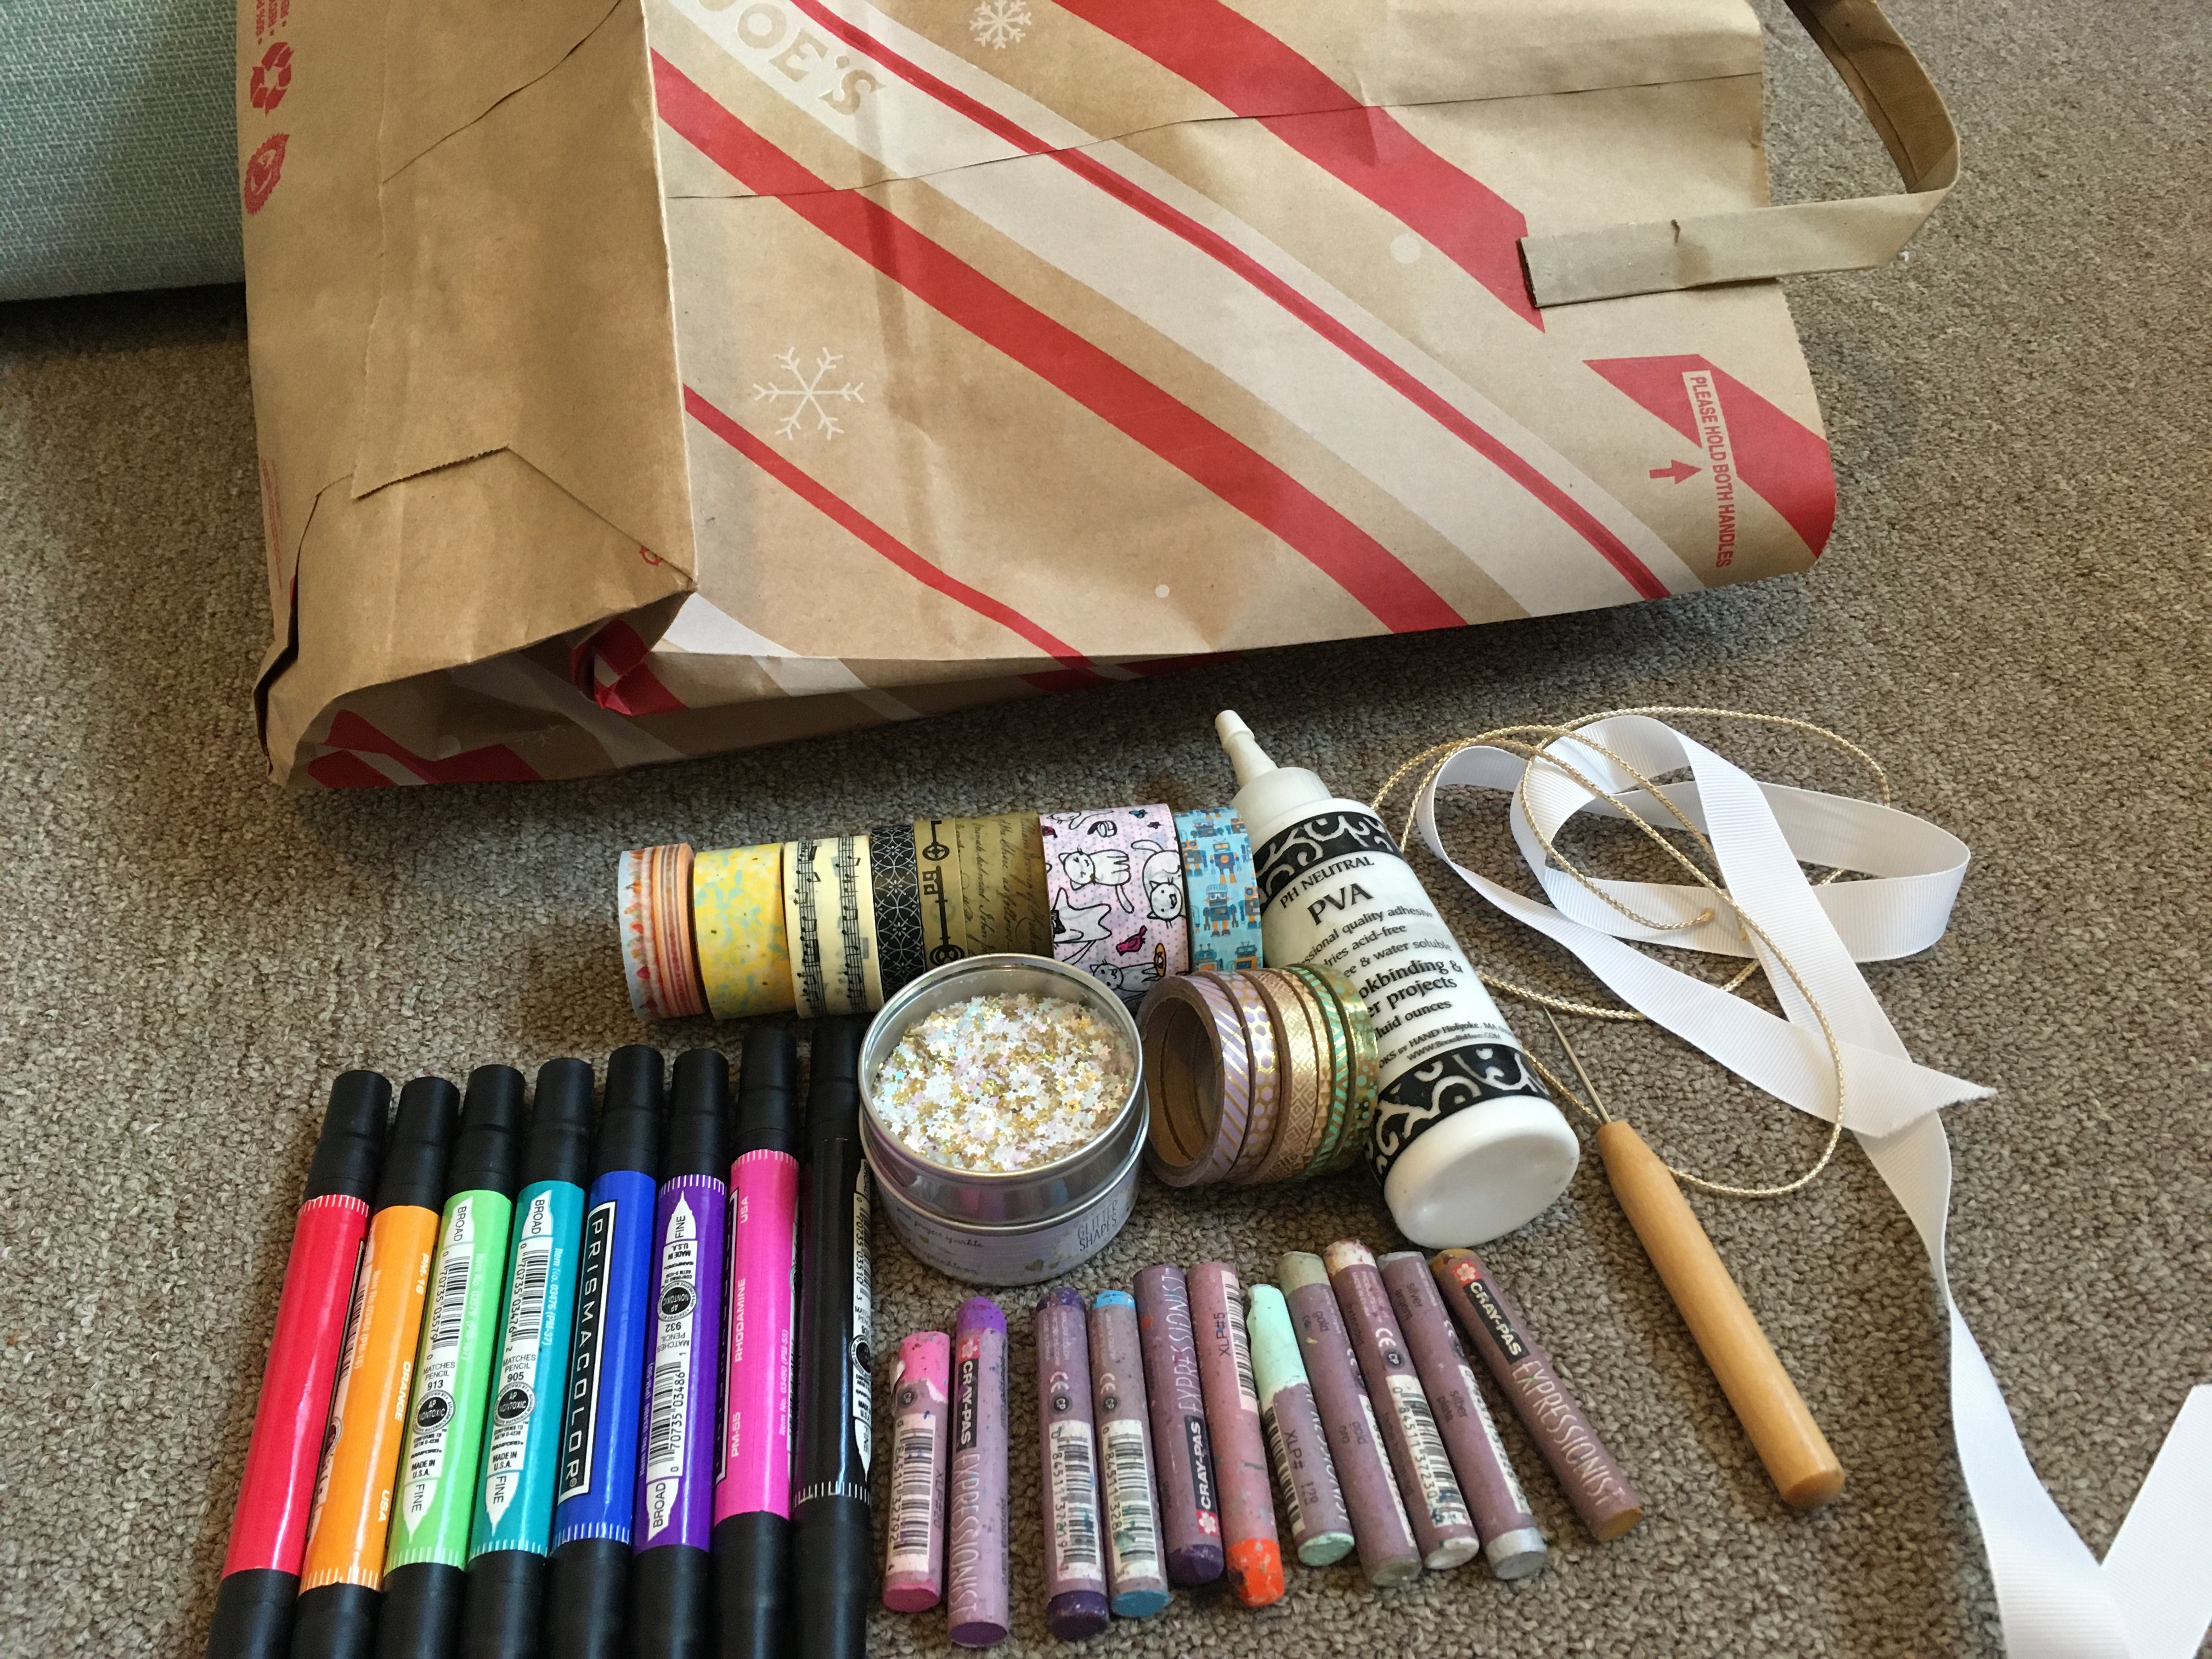
Next time you go on a grocery run, ask for paper instead of plastic and use your bag to make a recycled superhero cape! Each bag makes two capes, so it’s great for shared play! I used markers, washi tape, glue, scissors, glitter, ribbon, and an awl (for punching holes) to make mine. As always, feel free to substitute craft supplies—the only things you’re really going to need are something to cut the bag apart, something to tie it on with, and something to punch holes. Even a sharp pencil could work! | |
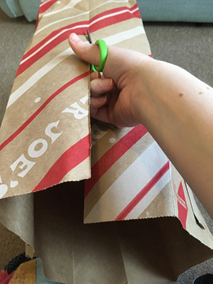
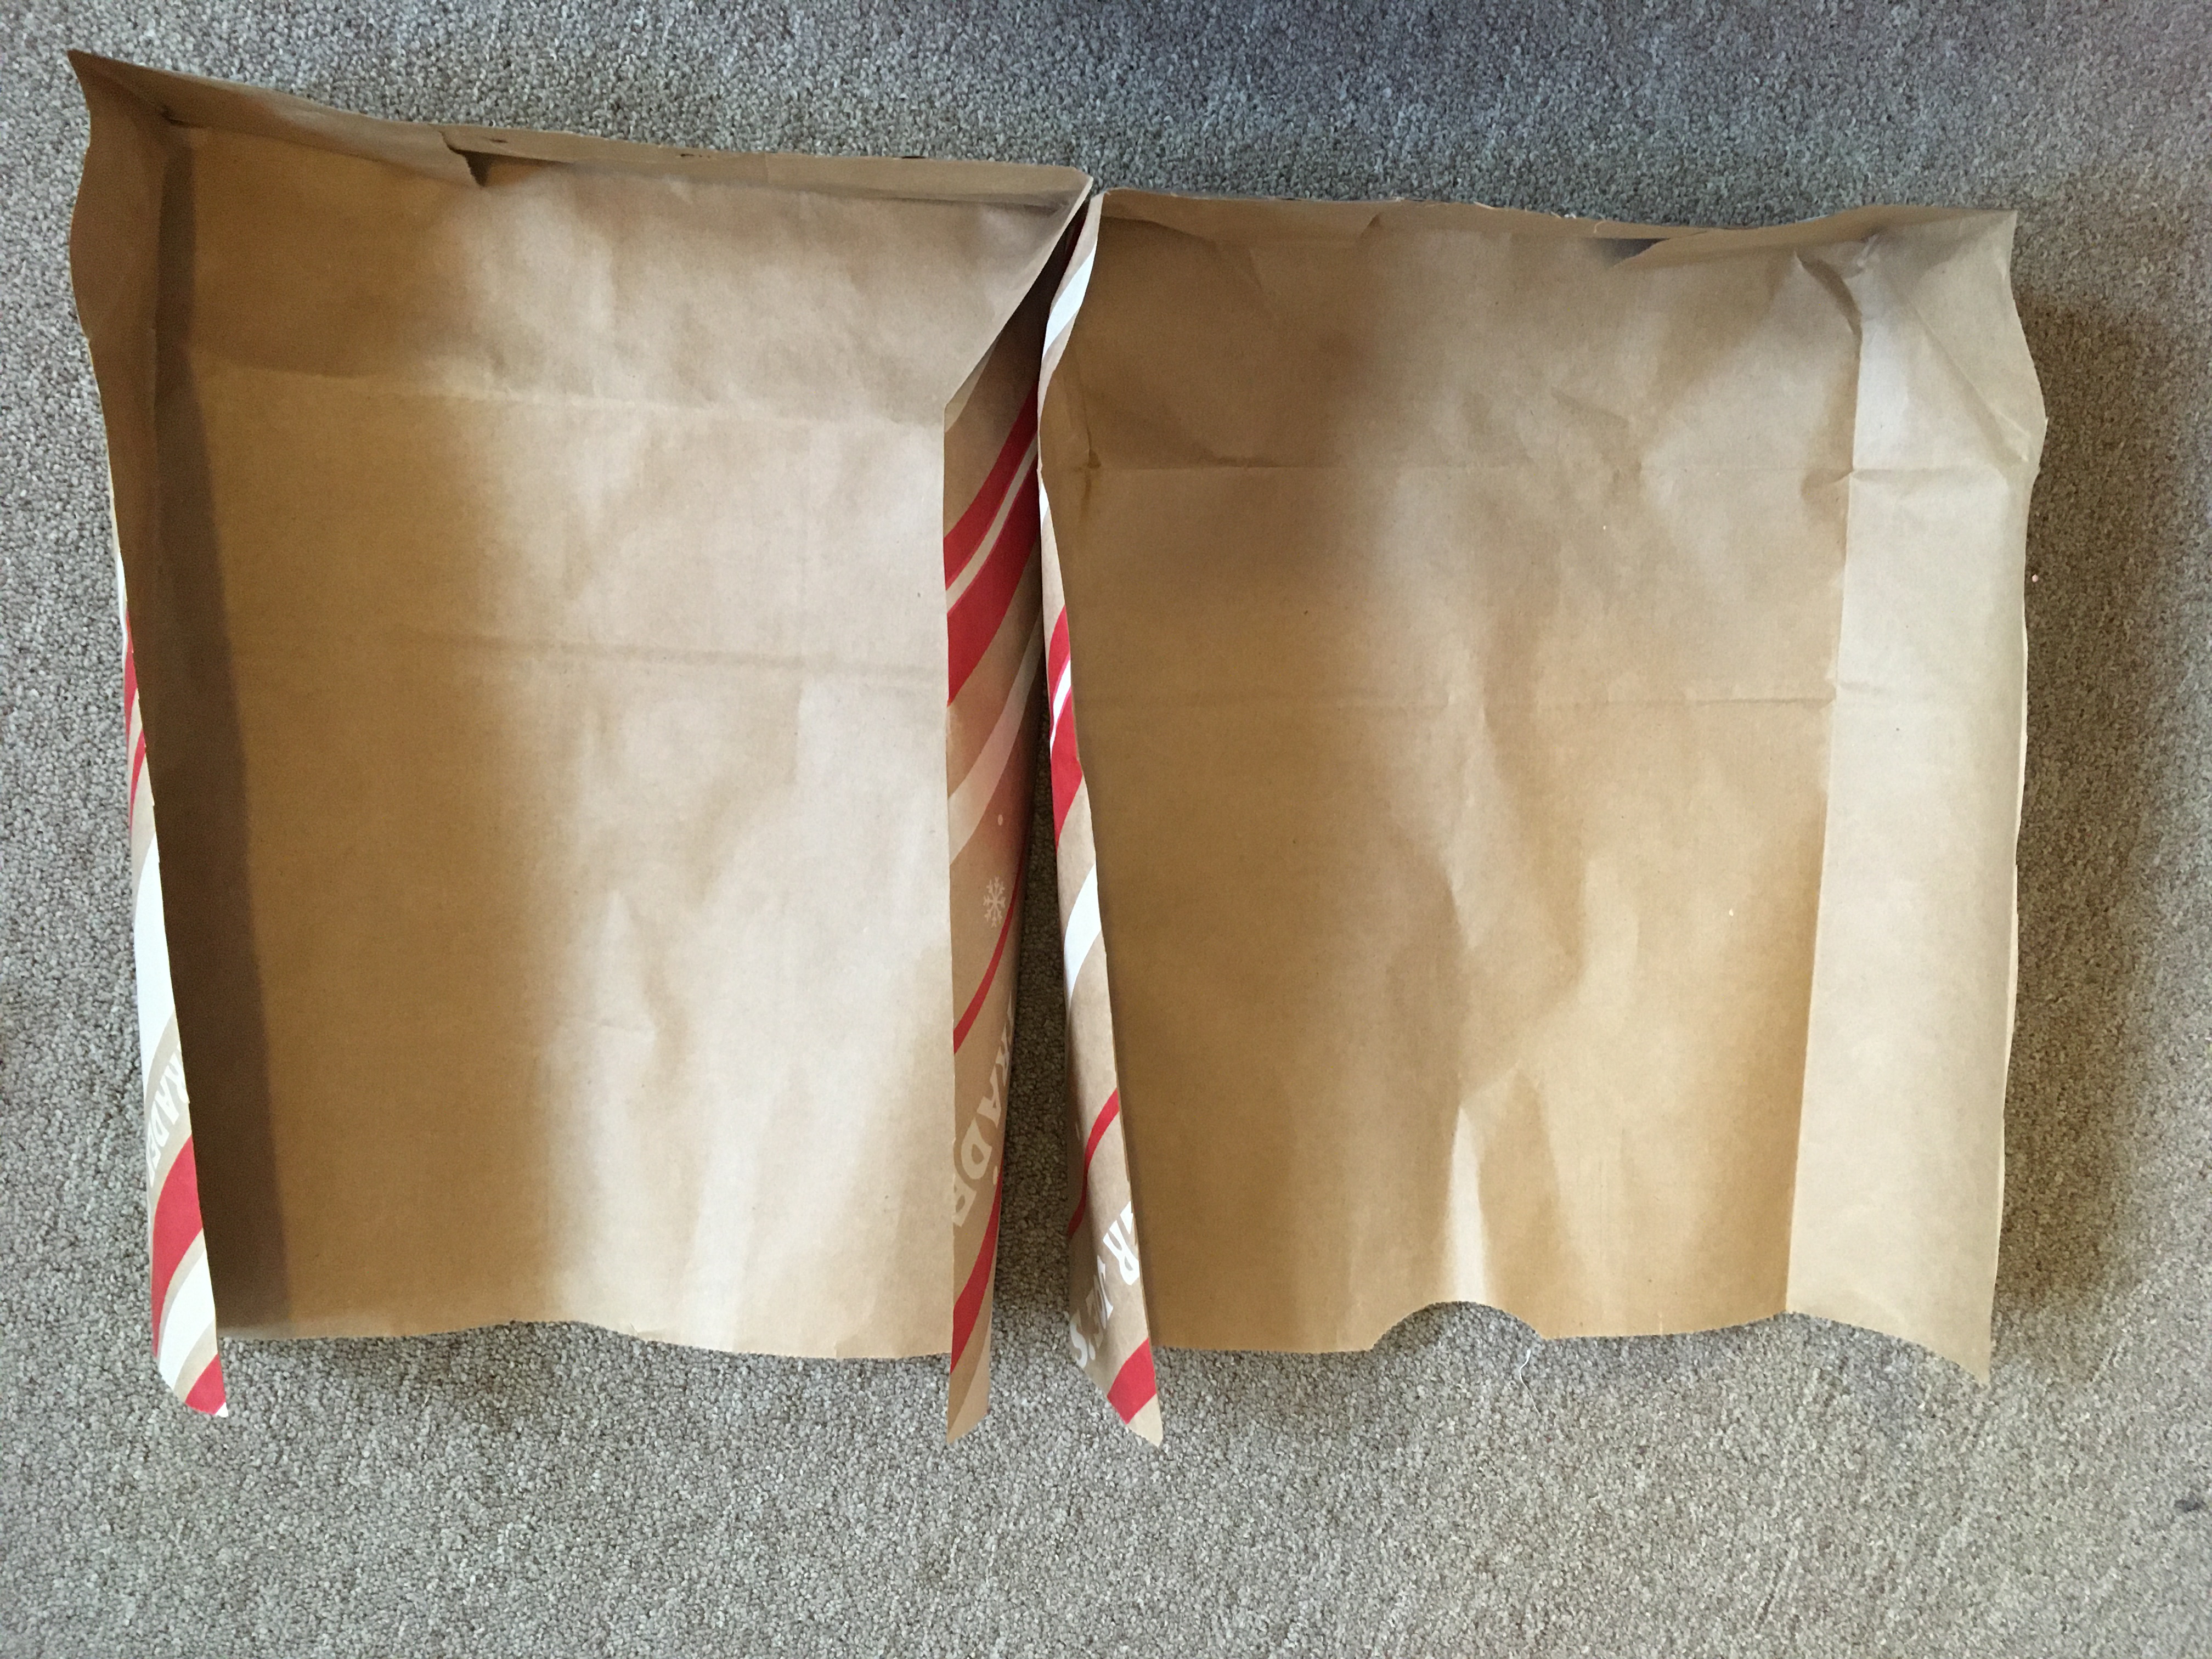
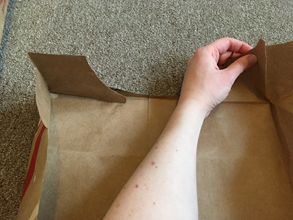
Open your bag up all the way, cut down one side seam, straight across the bottom, and then up the other side seam. You’ll have two almost-flat halves like this when you are done: | |
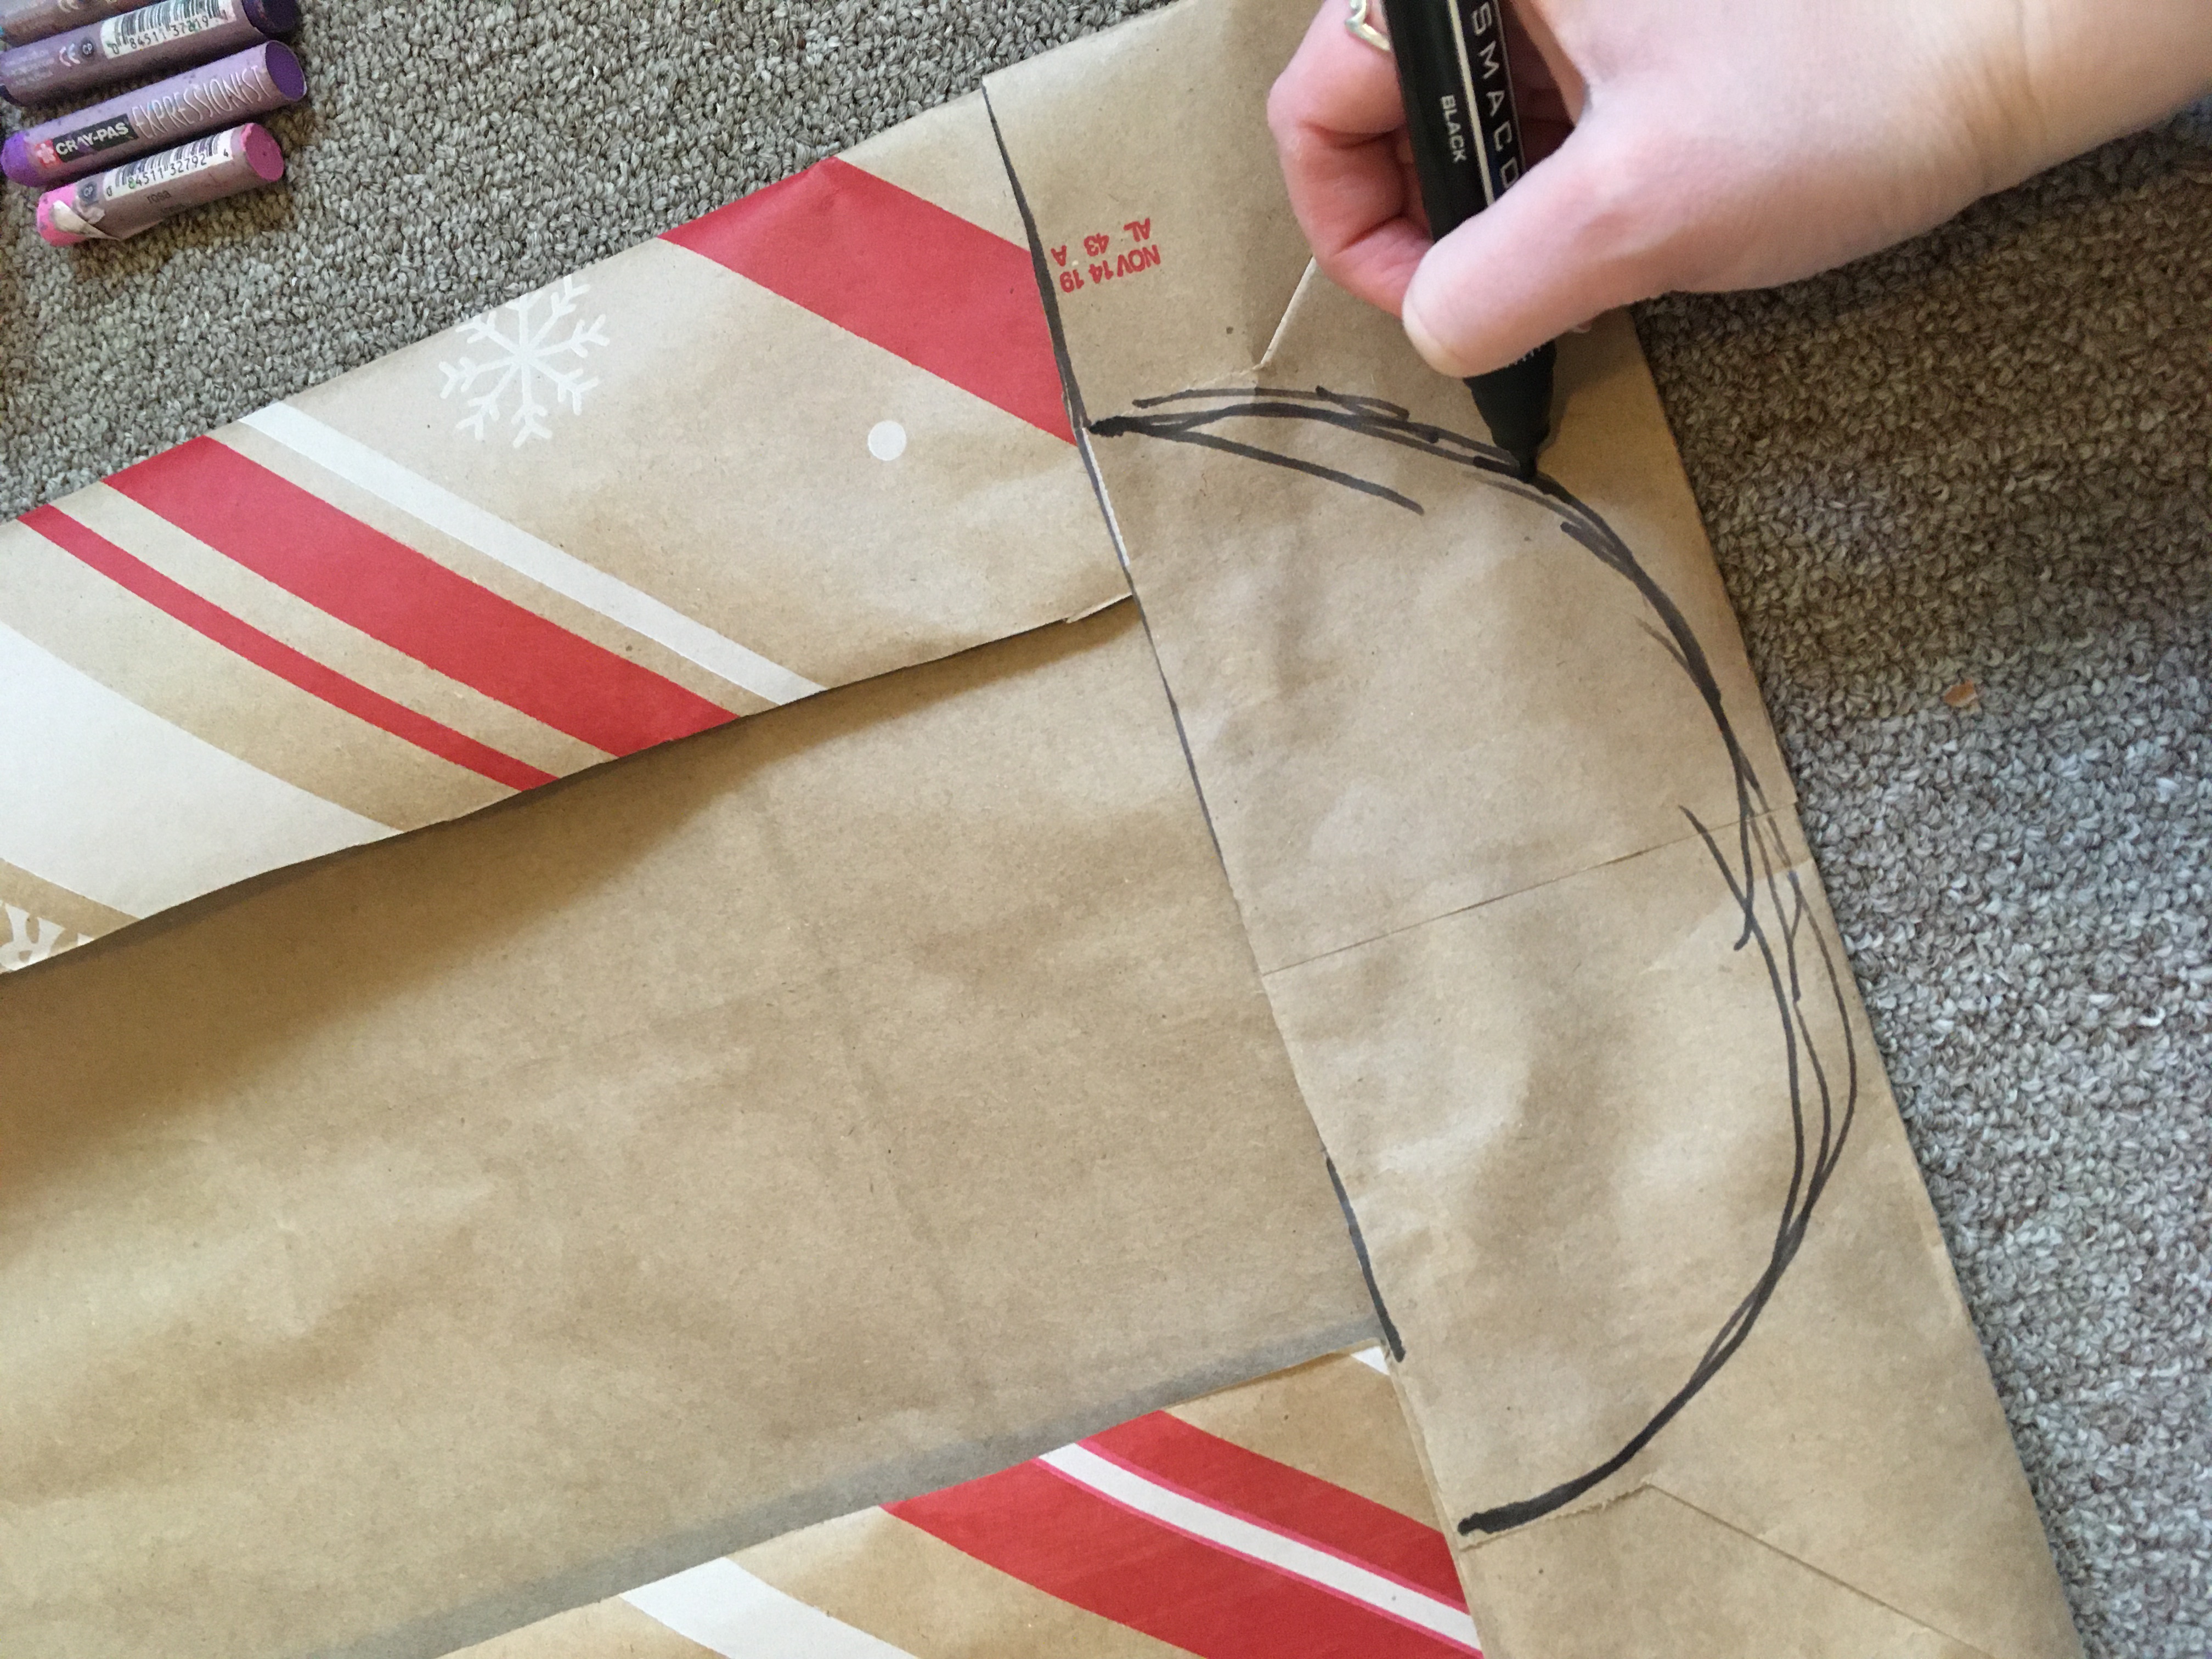
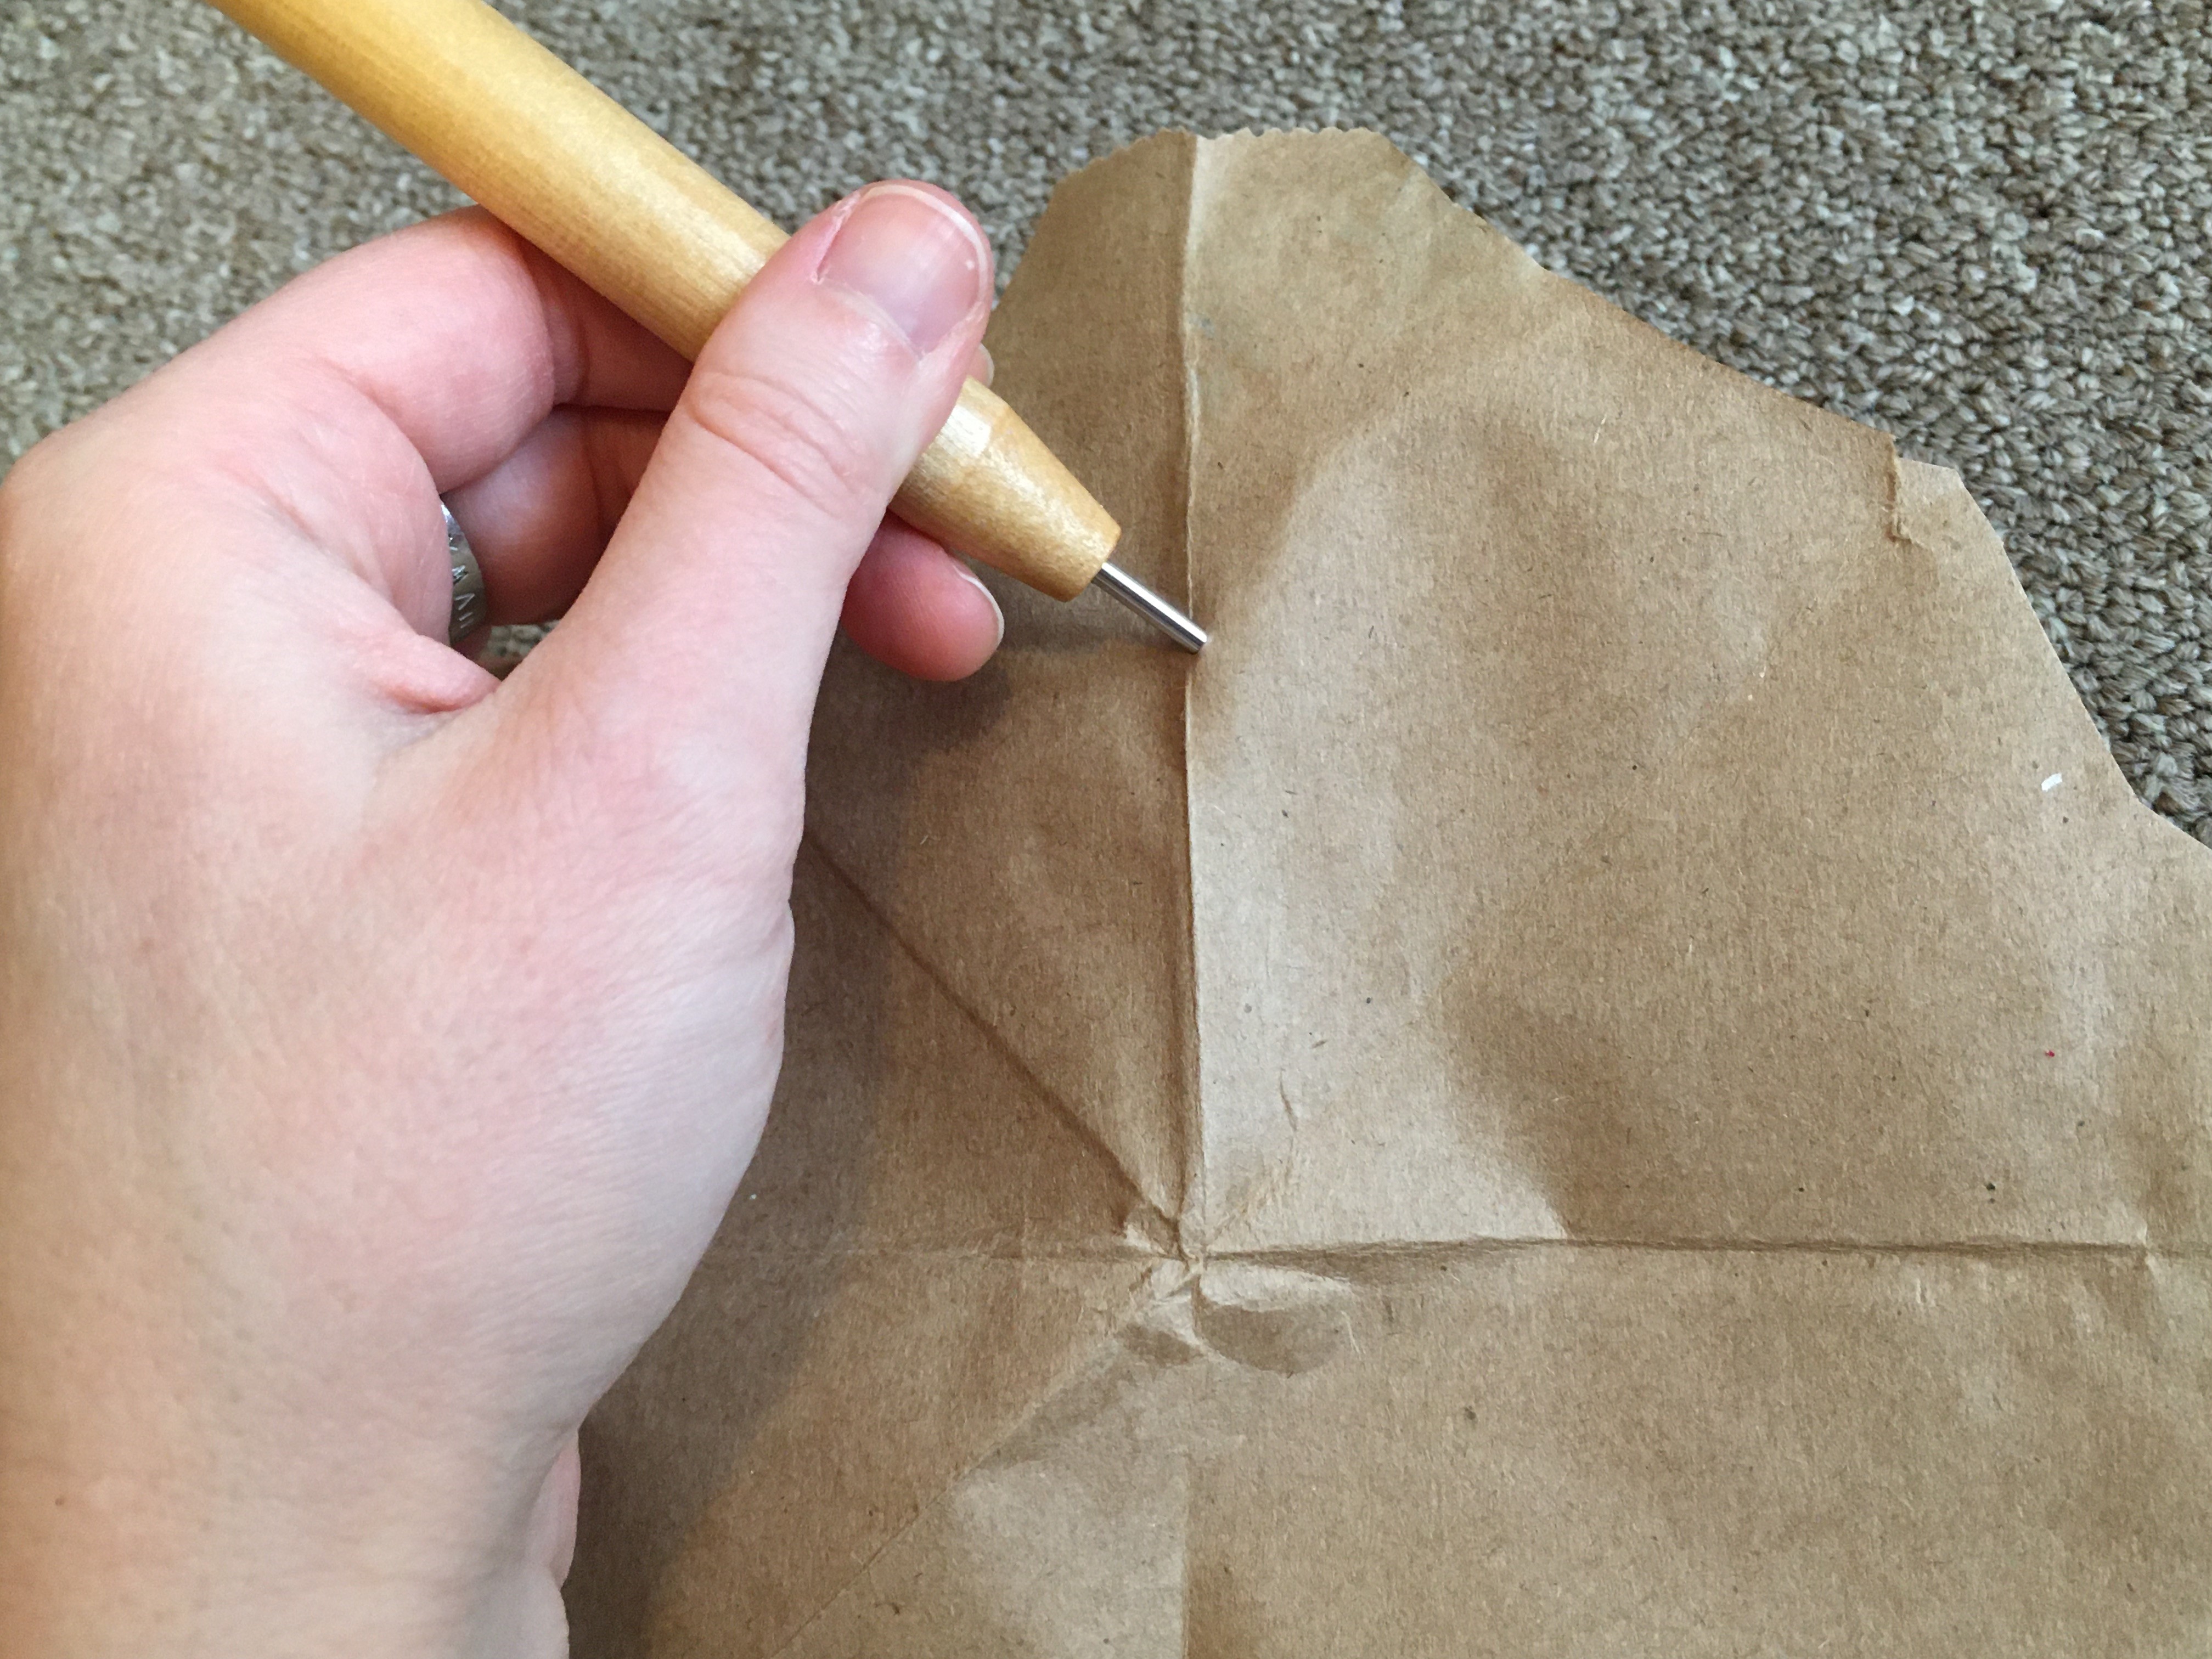
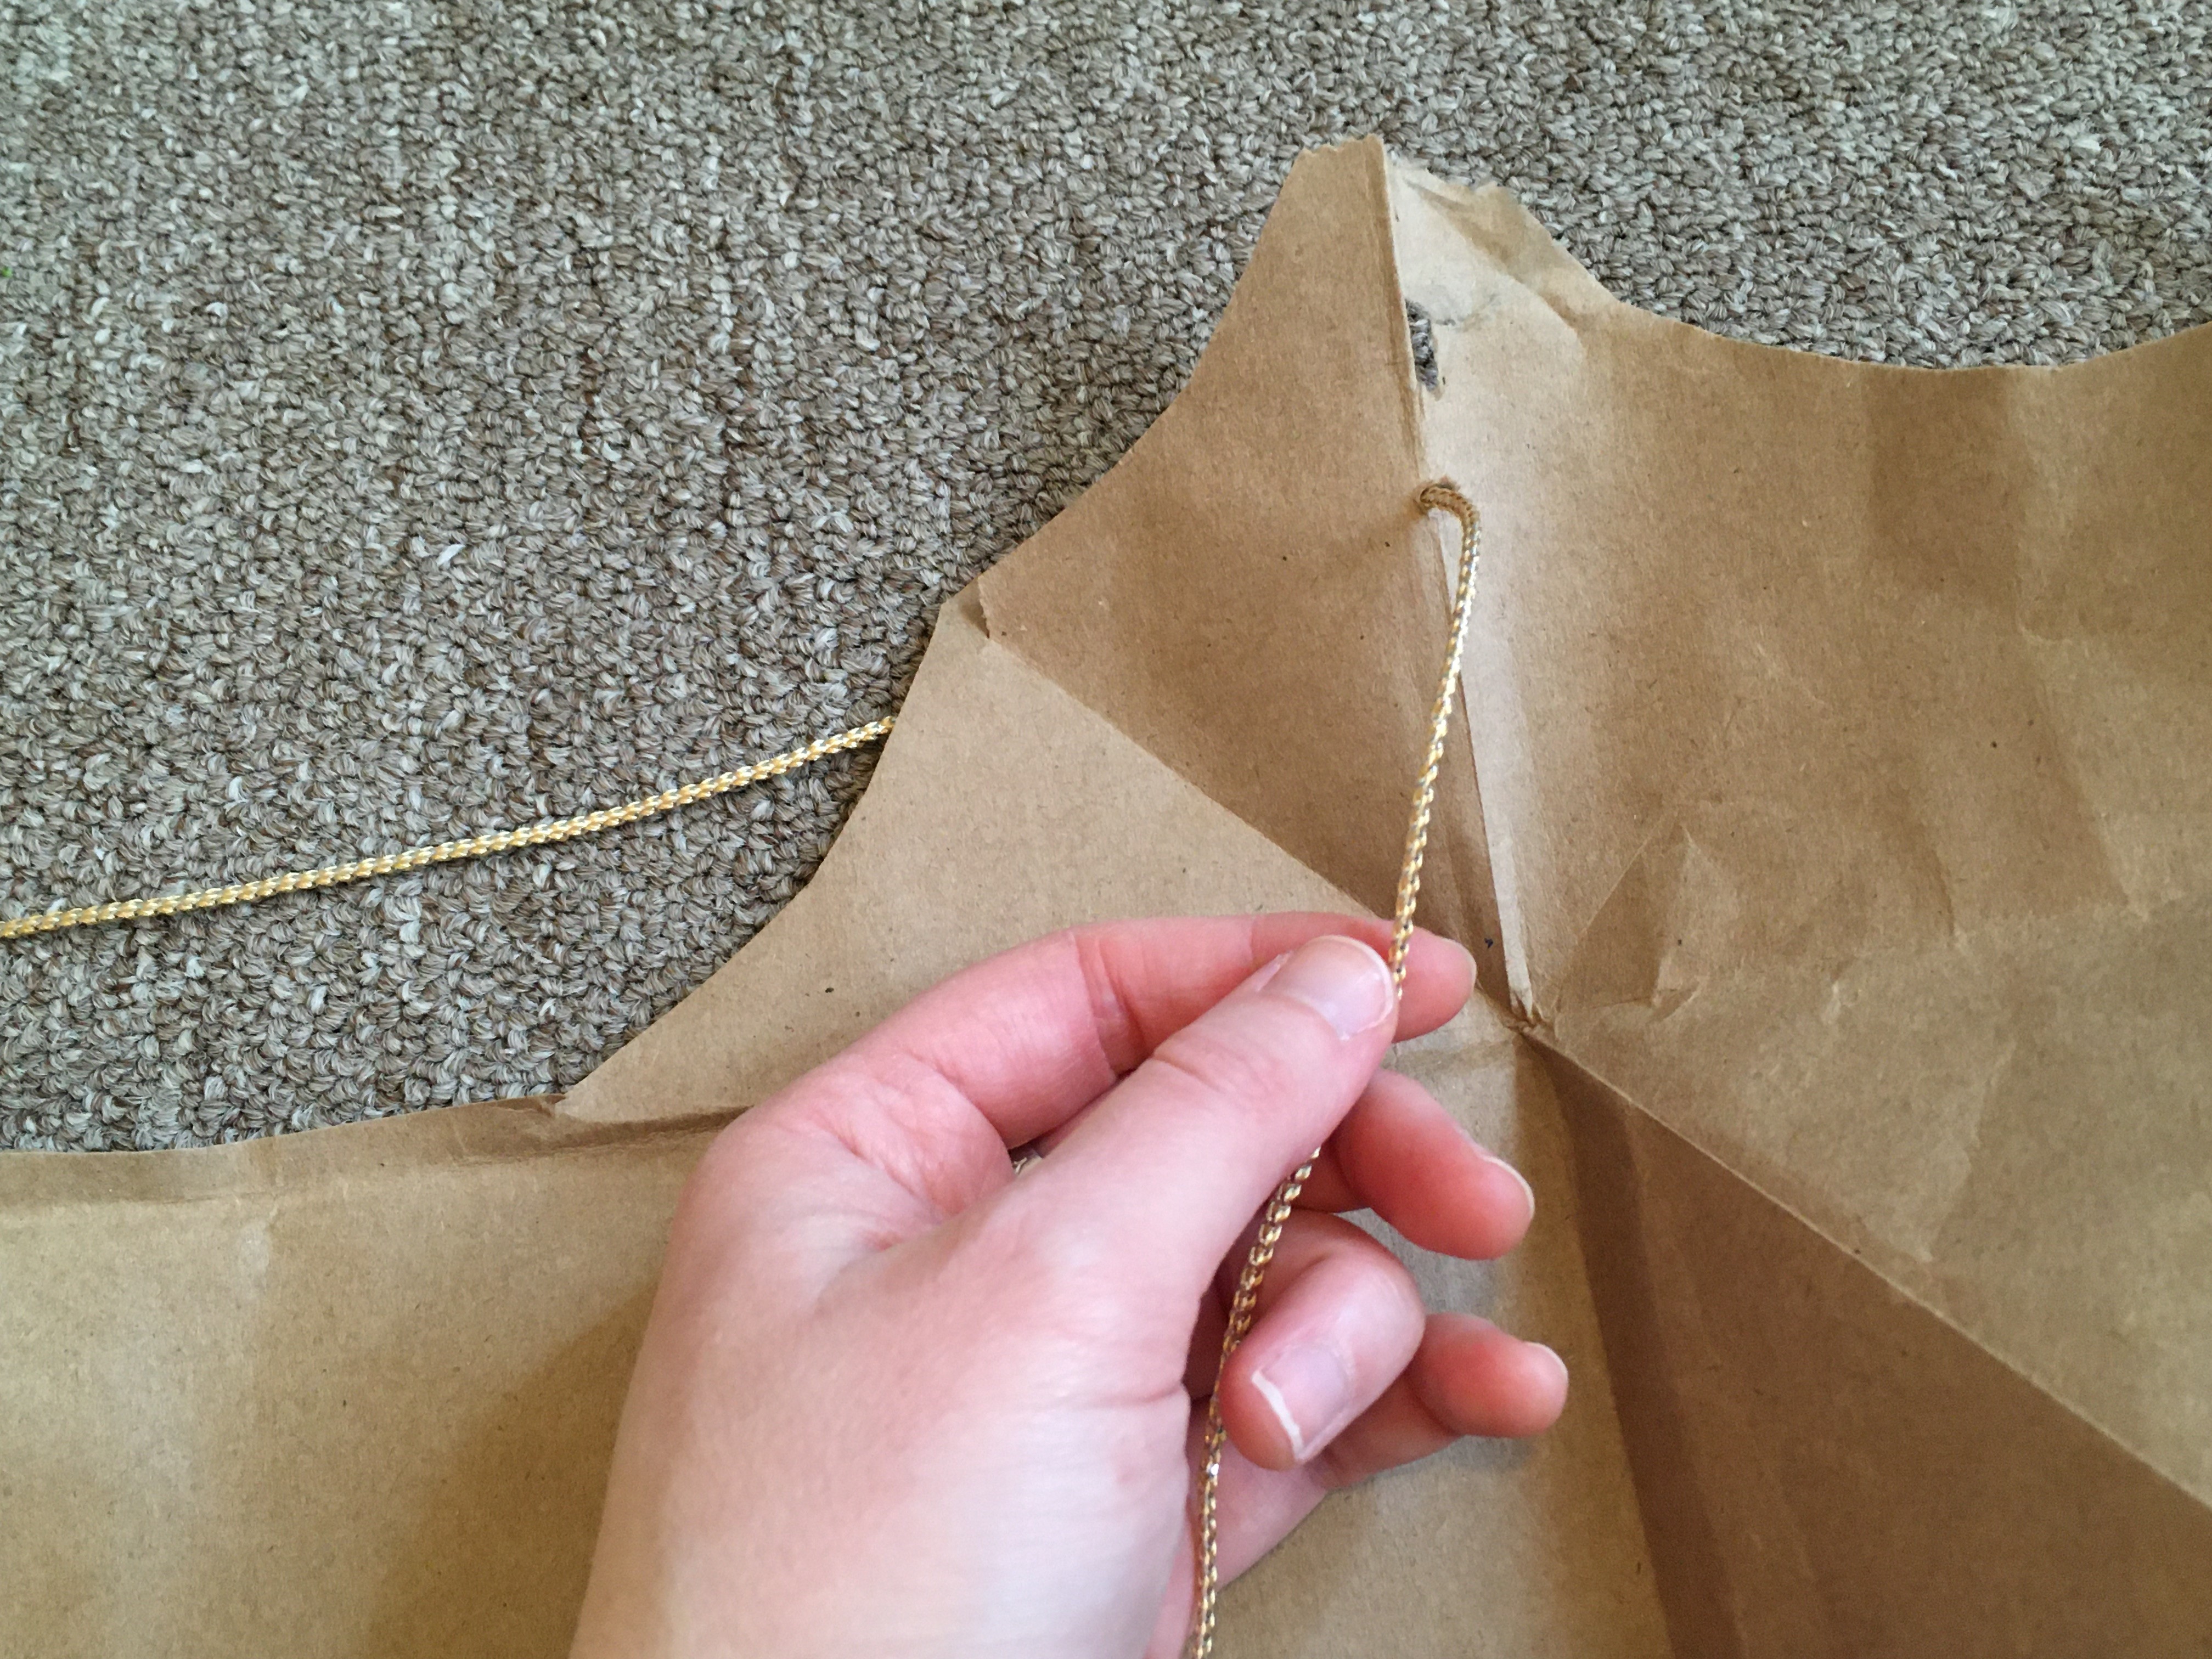
Now flatten the bottom of one bag, draw a large half-circle over it, and cut it out. This will be the neck of your cape. After you have cut out the neck, peel apart the remaining glued corners of the bag’s bottom and flatten them out. This part is tricky, but don’t worry—if something rips, you can reinforce it with tape or extra glued paper! (You also have a second cape to work with, if all else fails!) | |